


Getting Started
OS Getting Started for Admins
Written By:
Last Updated on January 20, 2026
Welcome to Warrant OS! Please explore this article for tips on setting up your company and team on the platform.
This guide walks you through the four things you need to configure before your team can start using Warrant:
Company Settings — Tell Warrant about your business
Approval Workflows — Define how content gets reviewed
Scan Settings — Choose which regulations to check
Team — Invite your colleagues
💡 The easiest way to set up is to use the Getting Started flow in the left sidebar. It walks you through each step. |
Step 1: Company Settings
Tell Warrant about your business so our AI can give you relevant compliance feedback.
→ The more Warrant knows about you, the smarter your compliance reviews become.
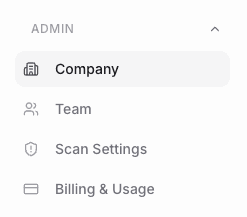
How to get there
Click Admin in the left sidebar
Select Company Settings
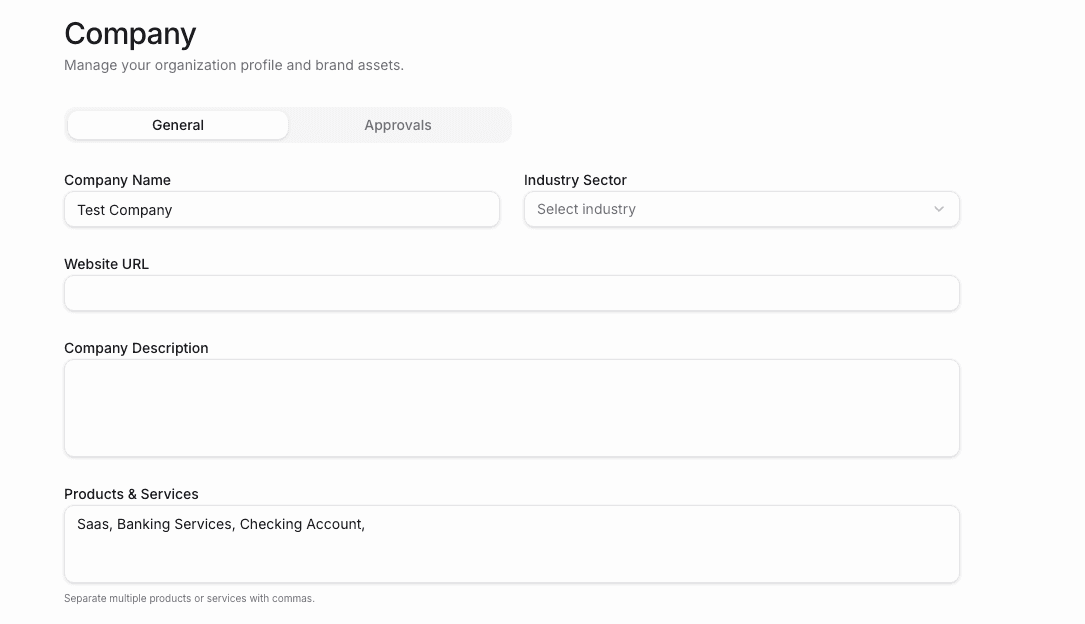
What to fill in
Fields marked with ⭐ are required.
Company Name ⭐: Your organization's name
Industry Sector ⭐: Helps us prioritize the right regulations
Website URL: Your company website
Company Description: Grab this from your About page — it helps our AI understand your business
Products & Services ⭐: Add each product name and type, separated by commas. These become selectable options when you scan content.
→ This means your team can quickly tag which product a piece of content is about.
Countries Operating In ⭐: We'll show you the right regulators based on where you do business
States Operating In ⭐: Select all states where you operate. Use 'Select All' if you're in all 50 states + D.C.
→ State-level rules matter. Insurance, securities, and consumer protection laws vary by state.
Brand Guidelines ⭐: Upload your brand standards as a PDF. Warrant will check content against your brand rules too.
→ Now every scan can catch off-brand content, not just compliance issues.
The page saves automatically as you fill it in.
Step 2: Approval Workflows
Define how content moves through review before it can be used.
→ No more email chains or lost approvals. Everything is tracked in one place.
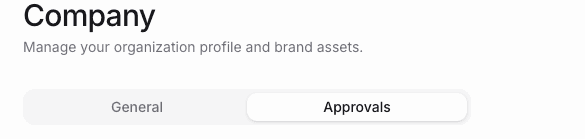
How to get there
Click Company in the left sidebar
Select the Approval tab at the top
Turn on approvals
Toggle Approvals on (blue) to require review before content can be marked approved.
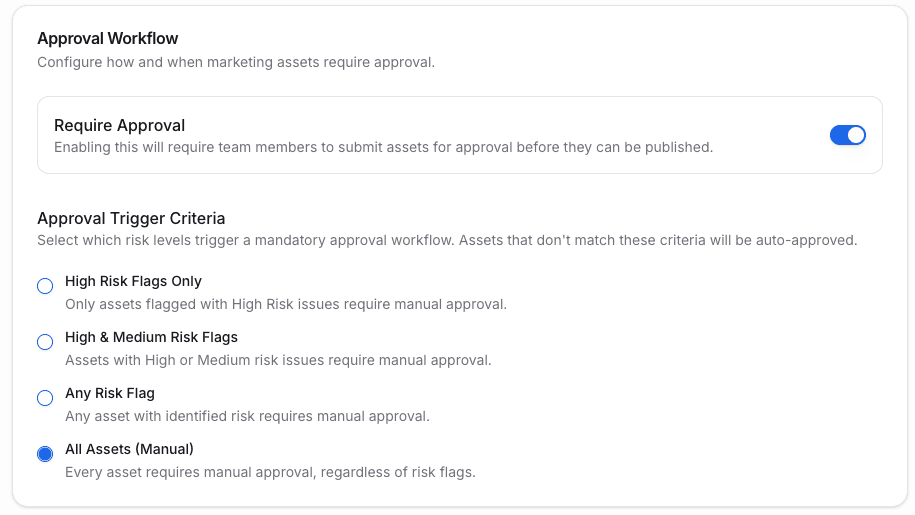
Choose your auto-approval setting
Decide which content needs human review:
Setting | What happens | Best for |
All Assets | Everything goes through manual review | Strict compliance (FINRA, etc.) |
Any Risk | Only flagged content needs review | Balanced approach |
High & Medium Risk | Low-risk flags auto-approve | Faster workflows |
High Risk Only | Only critical issues need review | High-velocity teams |
⚠️ For FINRA-regulated companies: We recommend requiring review for all assets since a licensed principal must review marketing materials. |
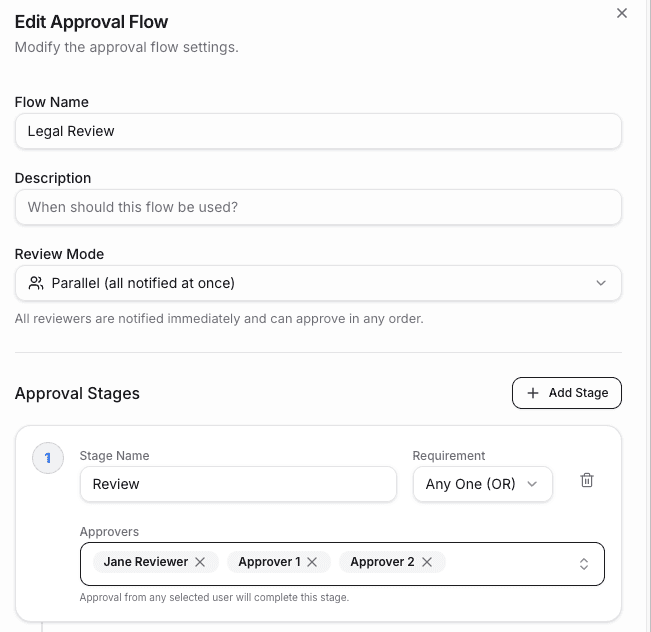
Create an approval flow
Click Add New Approval Flow
Name it clearly (e.g., 'Marketing Review' or 'Legal Approval')
Add a description so your team knows when to use it
Choose the review mode:
Sequential — Stages happen in order. Stage 2 doesn't start until Stage 1 approves.
Parallel — All reviewers see it at once. Anyone can approve.
Add your first stage:
Give it a name (e.g., 'Legal')
Add the approvers
Choose: Any One (one person approves) or Everyone (all must approve)
Add more stages if needed with '+ Add Stage'
Click Save Changes
→ You can create multiple flows for different content types: quick review for social, full review for campaigns.
Set expiration rules
Approved content doesn't stay approved forever. Set when it expires:
Choose a default expiration period (30 days, 90 days, 1 year, etc.)
Decide if expired content should automatically resubmit for re-approval
→ Never worry about outdated content staying live. Warrant tracks it for you.
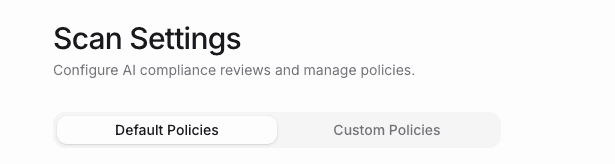
Step 3: Scan Settings
Choose which regulations and policies Warrant checks your content against.
→ 1,500+ rules from federal regulators, state agencies, and platforms; you pick what applies to you.
How to get there
Click Settings in the left sidebar
Select Scan Settings
Stay on the Default Policies tab.
Turn on compliance reviews
Toggle on AI Compliance Reviews at the top. This enables scanning in Studio and Scan.
Toggle on Brand Guidelines at the bottom to also check content against your brand standards.

Select your regulators
In the first table, enable the federal regulators and platform policies that apply to your business:
Once enabled, you'll see individual policies in the table below. Use search and filters to find specific rules, then enable the ones you need.
💡 Don't enable everything, more rules means more noise. Focus on what actually applies to your business. |
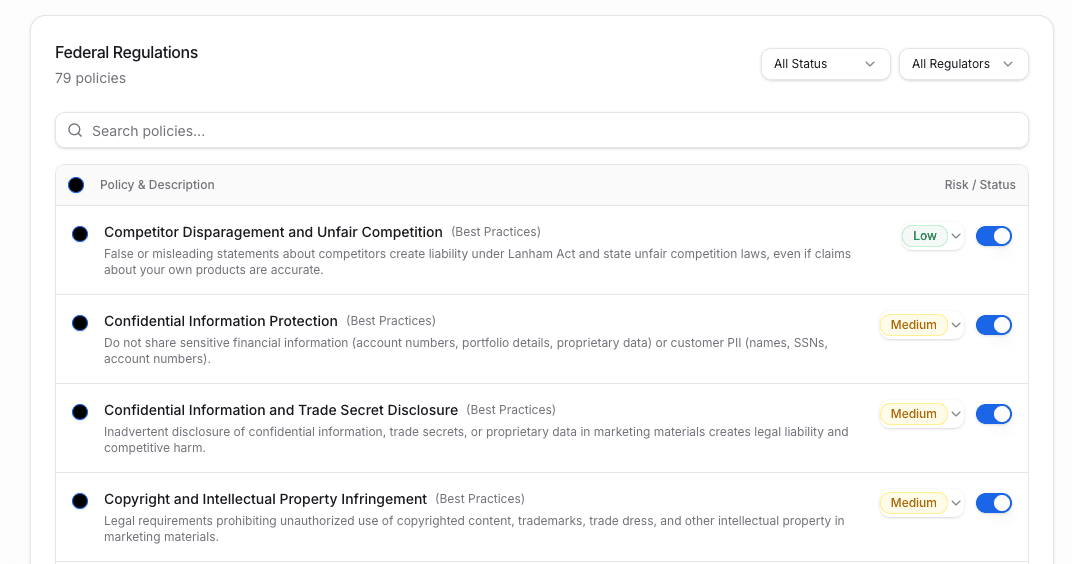
Set risk levels
For each policy, assign a risk level:
Level | Use for |
High | Critical violations that could mean fines or lawsuits |
Medium | Important rules you want to catch (recommended for most) |
Low | Nice-to-have checks, company-specific preferences |
→ Risk levels tie into auto-approval settings you set in Company Settings.
Step 4: Invite Your Team
Add your colleagues so they can start uploading and reviewing content.
How to get there
1. Click Settings in the left sidebar and select Team.
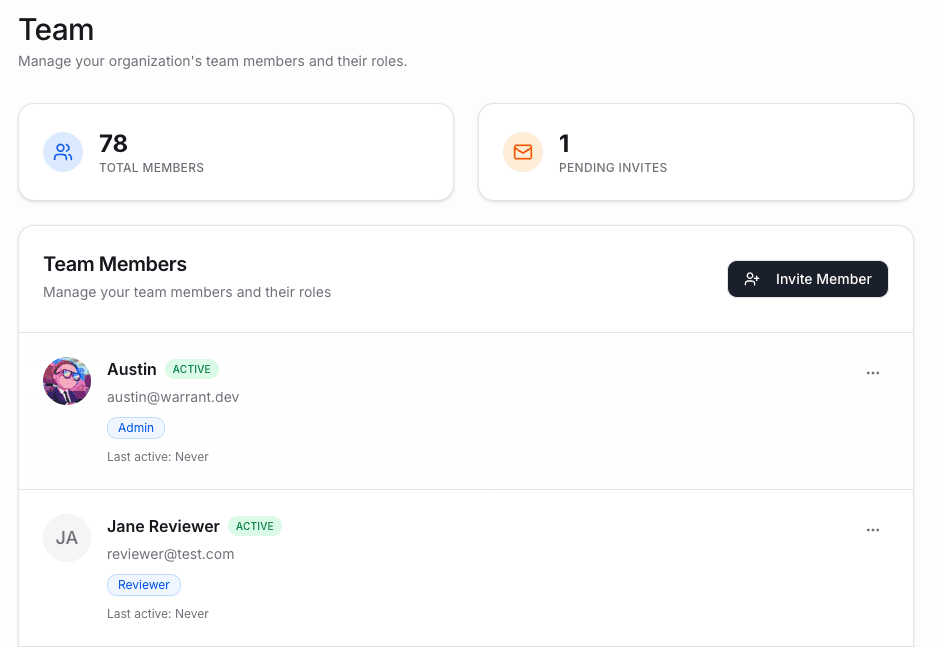
Add a team member
Click Invite New Team Member
Enter their email address
Choose their role:
Role | What they can do |
Admin | Everything — settings, billing, team management, all content |
Member | Upload, scan, submit for approval, review, comment |
4. Click Send Invitation
They'll receive an email to join your workspace.
💡 Start with a small pilot group. Get feedback, then roll out to the full team. |
You're ready! 🚀
Your workspace is set up. Here's what you've configured:
✓ Company profile and brand guidelines
✓ Approval workflows and expiration rules
✓ Compliance policies and risk levels
✓ Team invitations
What's next
Share the Getting Started for Users guide with your team so they know how to:
Draft content in Studio
Upload files and websites
Run compliance scans
Submit for approval
As an admin, you'll want to
• Check Approvals → Pending regularly to review submitted content
• Use Search with the 'Expiring Soon' filter to catch content before it lapses
• Refine your Scan settings and policies over time based on what your team actually needs.
Need help?
In-app chat — Click the chat icon for instant support (Coming Soon)
Email — support@hellowarrant.com
Slack — Join our Slack channel.
Related to Getting Started
